In Azure portal go to Home -> Container Apps -> Create Container App
- Fill the Subscription, Resource group, Container app name, Region, and the Container Apps Environment in the Basics tab.
- In the Container tab
- Deselect the Use quickstart image chechbox.
- Fill the Name of the container
- Select Docker Hub or other registries as the Image source
- Use Public as Image type
- Fill Registry login server with docker.io
- Fill Image and tag with flagsmith/flagsmith:latest
- Choose the desired Workload profile and CPU and Memory
- Fill the Environment Variables required by the container
- DATABASE_URL: the database URL. You can refer to a secret value here for security
- USE_POSTGRES_FOR_ANALYTICS: true/false
- ENV: set to prod when deploying to production
- DJANGO_ALLOWED_HOSTS: * for dev, restrict this for production
- ALLOW_ADMIN_INITIATION_VIA_CLI: true for dev, set to false for production
- FLAGSMITH_DOMAIN: your flagsmith domain
- DJANGO_SECRET_KEY: the Django secret key
- TASK_RUN_METHOD: TASK_PROCESSOR/SYNCHRONOUSLY/SEPARATE_THREAD deploy another instance of flagsmith/flagsmith:latest if using TASK_PROCESSOR

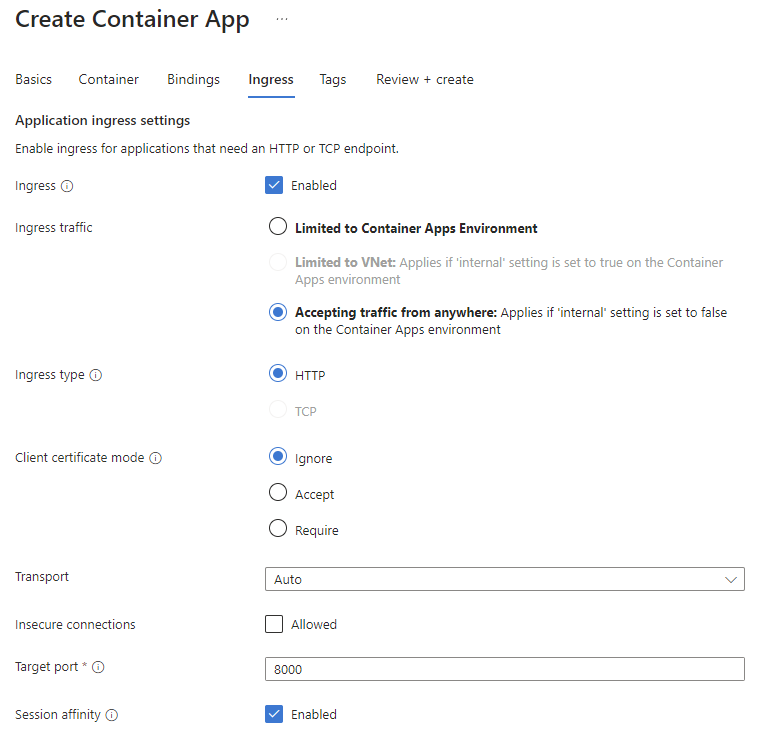
For the ingress tab
- Enable Ingress
- Select the option for Ingress traffic
- Set HTTP as Ingress type
- Set Target port to 8000
- Enable Session affinity
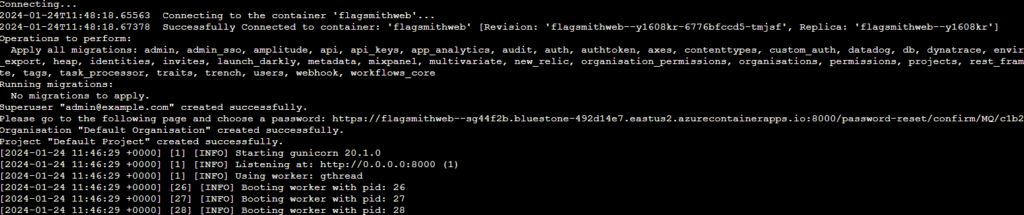
After your container is created, go to Monitoring -> Log Stream and observe the console
Reset your admin password using the supplied URL
Leave a Reply